Customers
Customers is the master list of the companies (or people) you do transport for. Each customer can have one or more departments — sub-units with their own address and contacts (e.g. “Acme — Oslo warehouse”).
Customers are reused across many orders, so getting them right early makes order entry faster.
How to open Customers
Click Customers in the left sidebar.
How customers, departments, and locations relate
- A customer is the company or person paying for transport (e.g. “Acme Logistics AS”).
- A department is a sub-unit of a customer with its own address and contacts (e.g. “Acme — Oslo warehouse”). Departments are optional — many customers have none.
- A location is a physical place where a stop happens (pickup or delivery). Locations are reusable across orders and customers. See Locations.
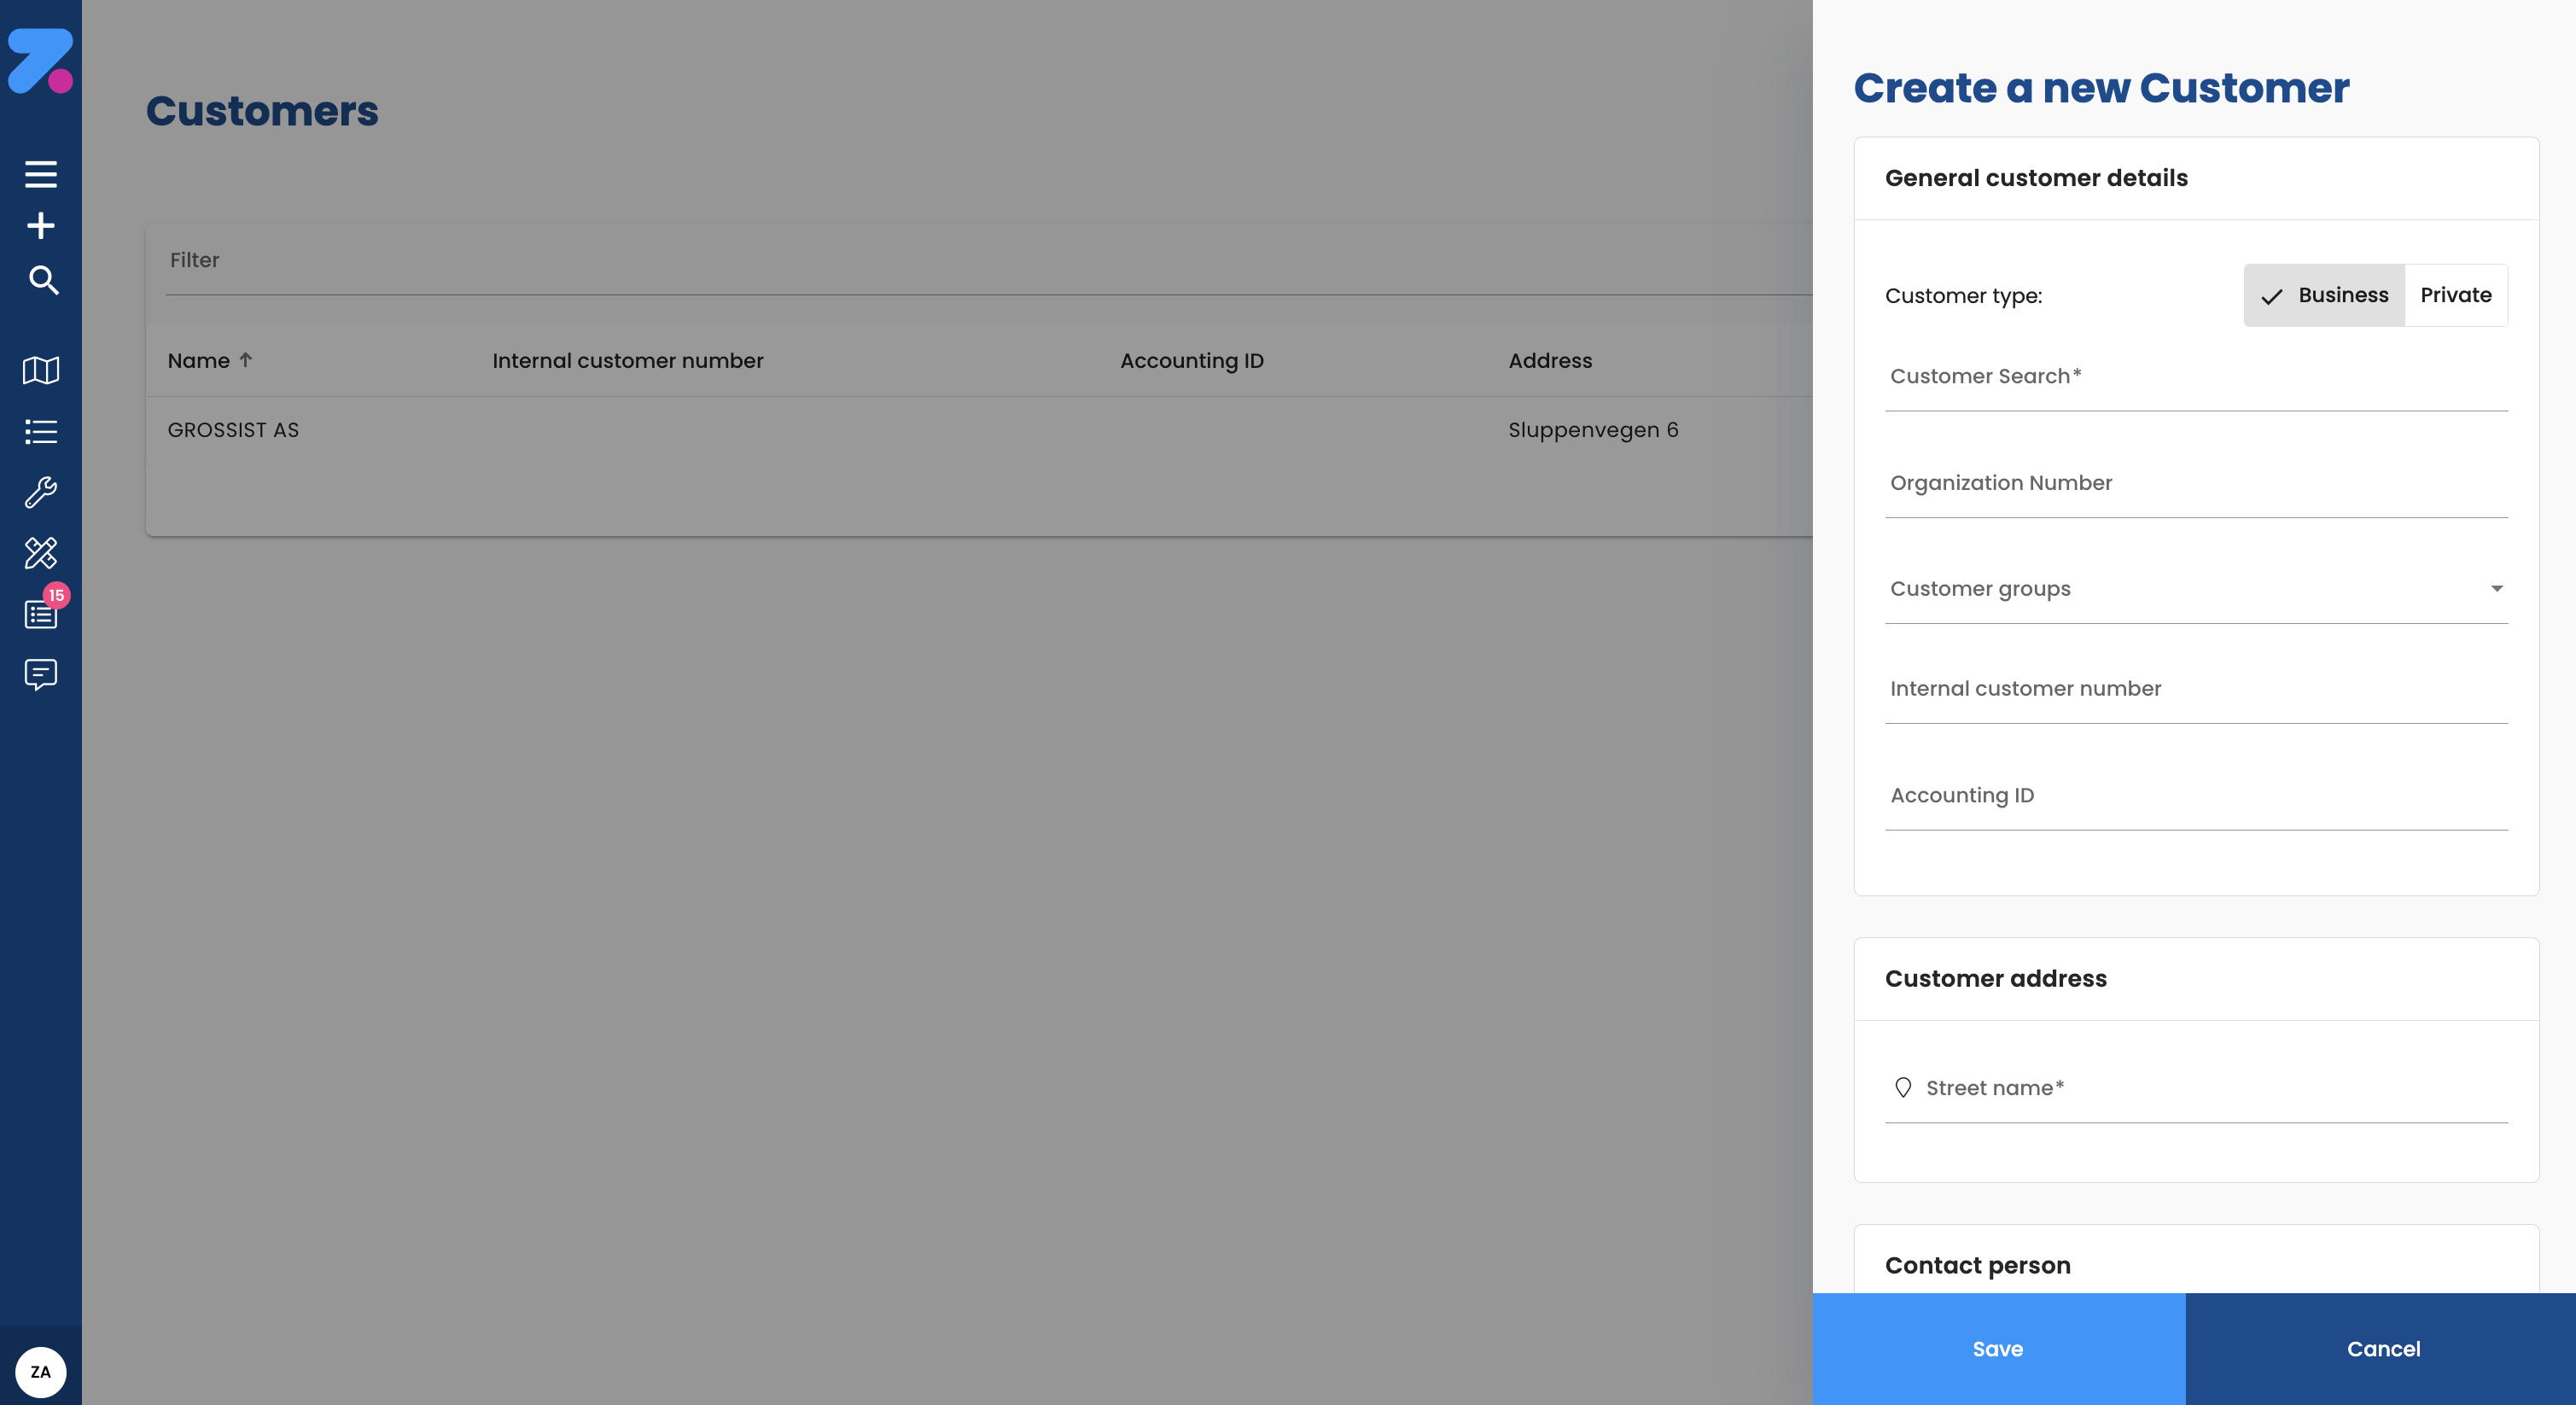
How to create a customer
- Open Customers.
- Click New customer.
- Fill in:
- Name
- Address
- Billing address (if different)
- Contact persons (one or more)
- Save.
Open the customer afterwards to add departments, custom field values, and a default price list.
How to add a department
- Open the customer.
- Open the Departments tab.
- Click Add department.
- Fill in name, address, contacts.
- Save.
When you create an order for this customer, you can now pick a specific department.
How to edit a customer
- Open the customer.
- Click the pencil icon in the header (or open the relevant tab — Departments, Custom fields, Pricing, etc.).
- Make your changes and save.
How to set a default price list for a customer
- Open the customer → Pricing tab.
- Pick a price list as the default.
- Save.
This price list applies to every order for the customer unless overridden at the order or location level. See Settings → Pricing for the full pricing model.
How to add custom fields to a customer
If you need to record customer-specific info that isn’t in the standard form (e.g. a customer code from your ERP — the finance/operations system your team uses — or a service tier):
- First, an admin defines the field in Settings.
- Open the customer → Custom fields tab.
- Fill in the values.
- Save.
How to merge duplicate customers
Duplicates happen — different team members create slightly different records for the same company. Merge them so all history points to one record.
This is destructive — it cannot be undone.
- Open the customer you want to remove (the “from” customer).
- Click ⋮ in the header → Merge.
- Search for the target customer (the “to” — the one you want to keep).
- Review the impact preview.
- Confirm.
After confirming, the “from” customer is deleted and all its history points to the “to” customer.
How to deactivate a customer
Permission: Admin only.
- Open the customer.
- Click Deactivate in the header.
Deactivated customers stay in the system for reporting but can’t be picked when creating new orders. Reactivate from the same screen.
How to import customers in bulk
For new orgs onboarding their data:
- Customers → Import.
- Download the template, fill it in.
- Upload. Review the preview, fix issues.
- Confirm.
For developers: customer create / update via the integration API is not supported — it’s a UI-only operation. See the Developer Guide for what is available via the API.
Web Portal Access (add-on)
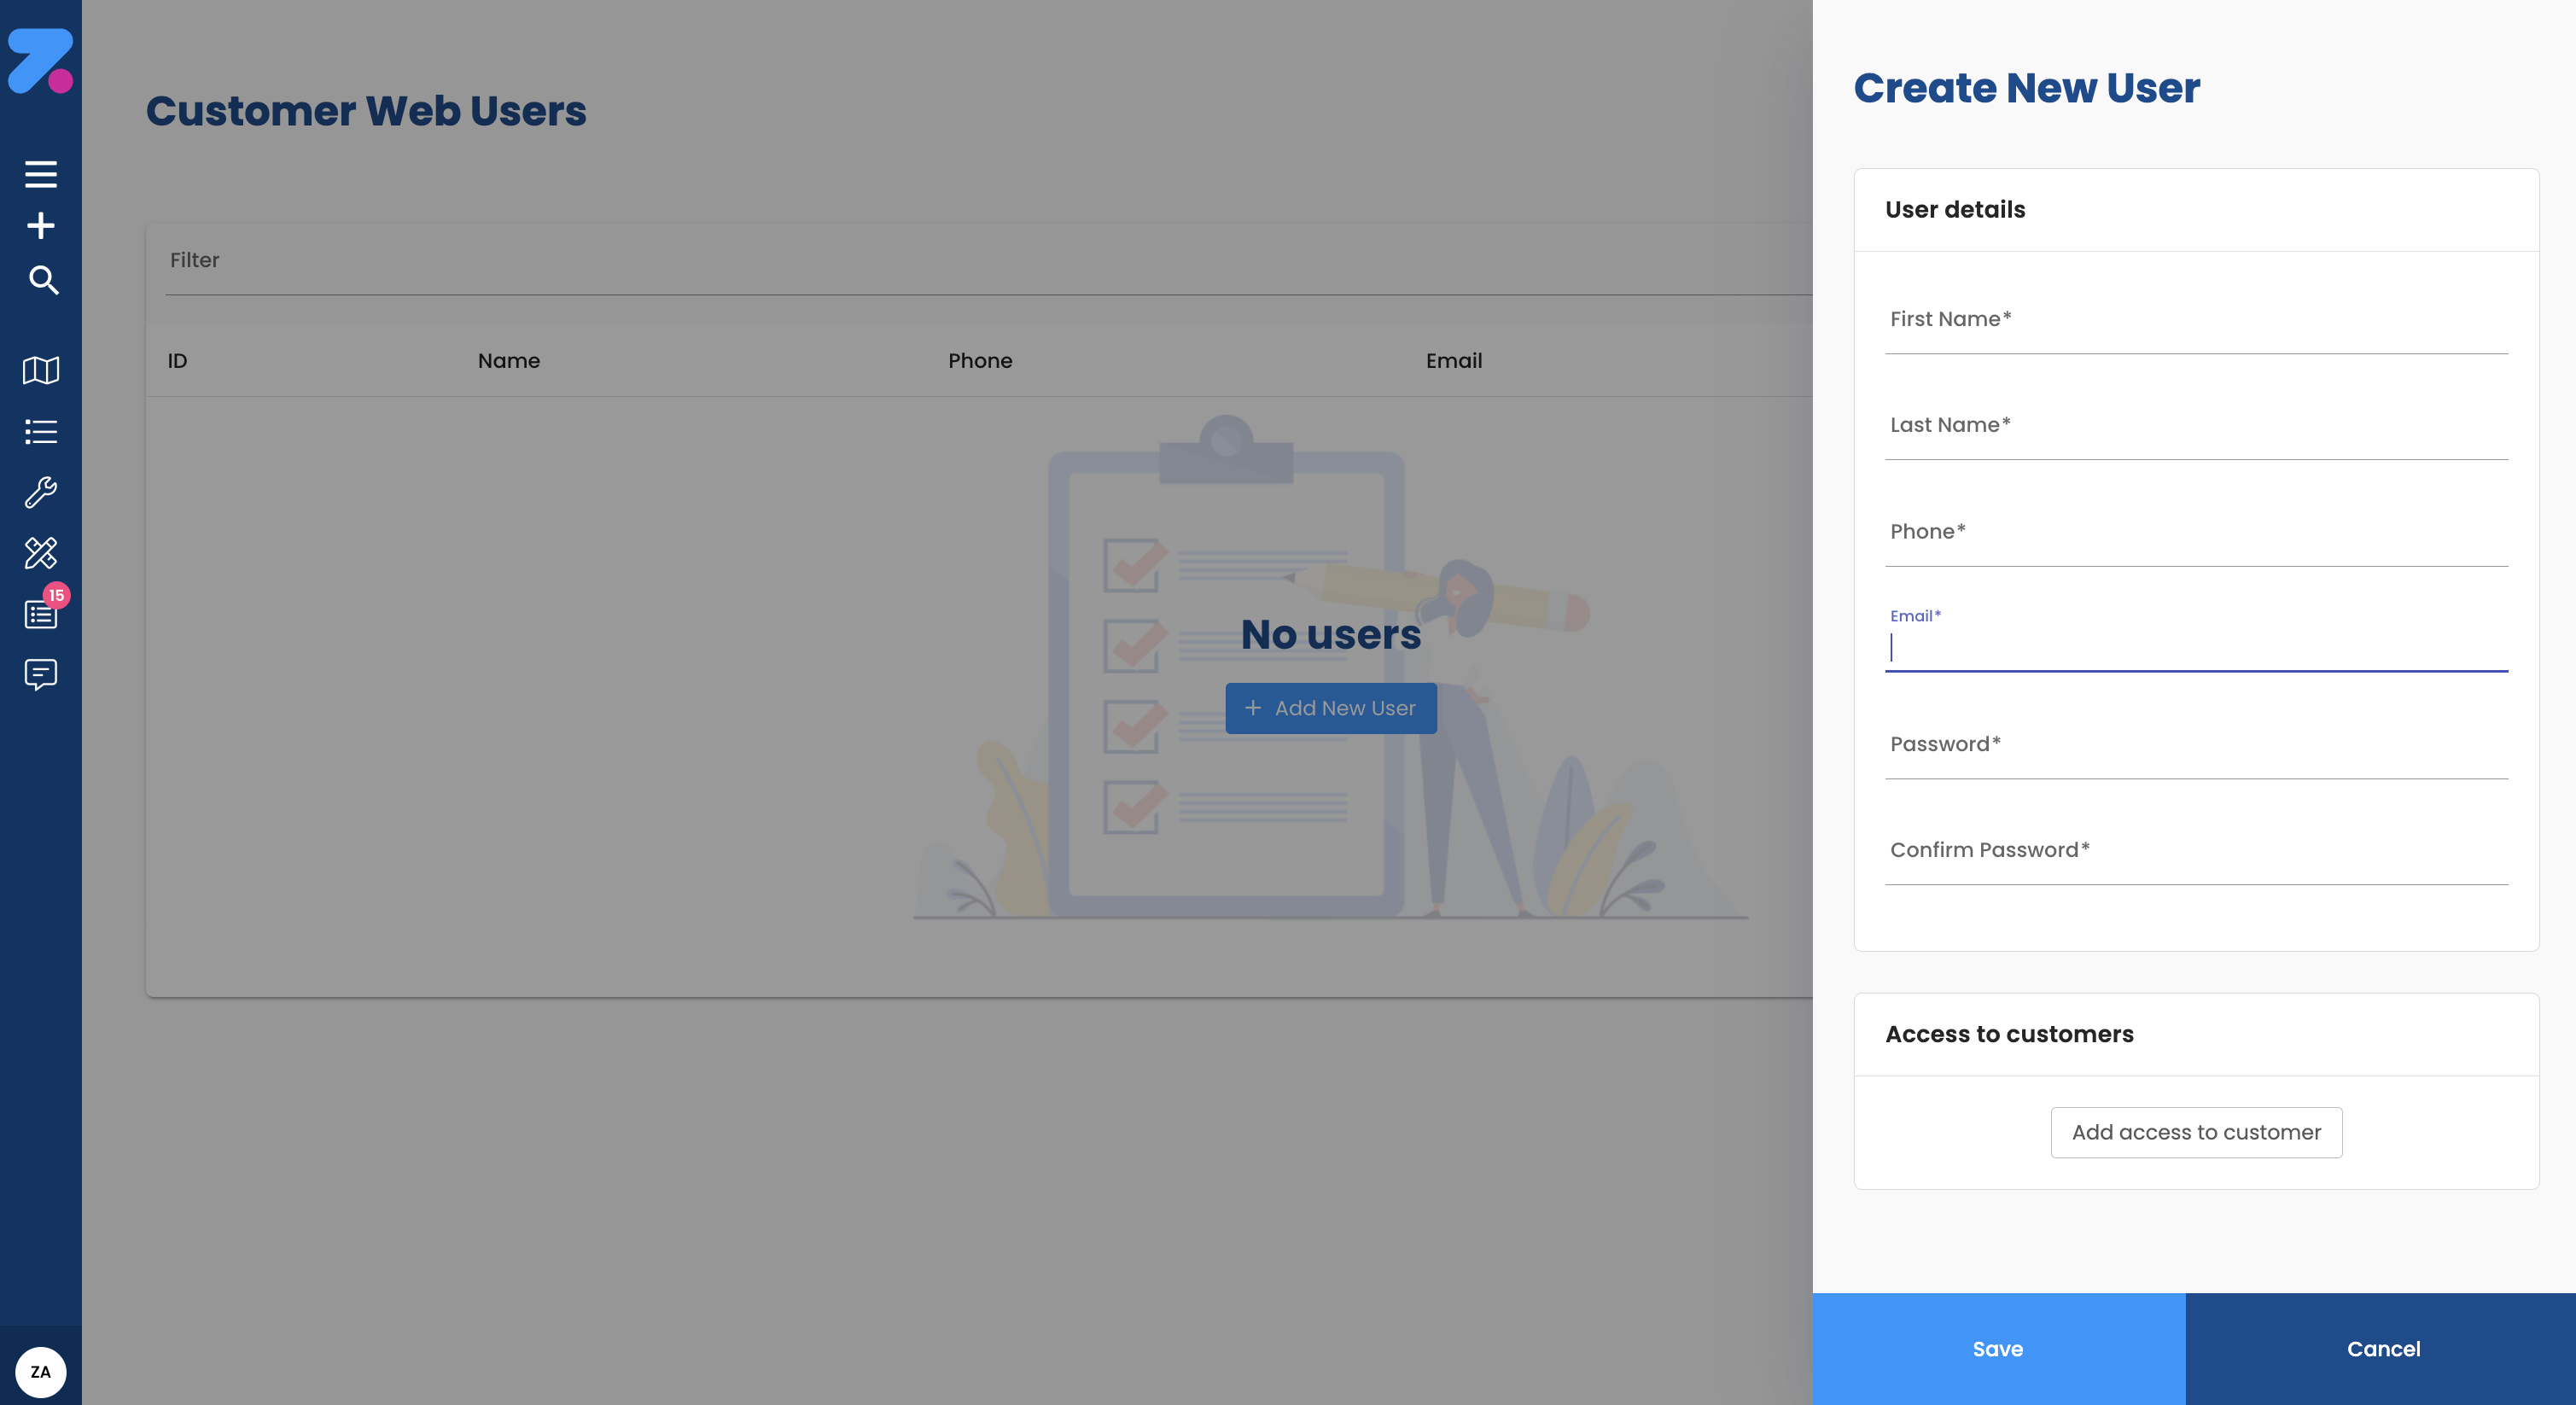
Add-on Feature
The Customer Web Portal is an add-on feature that provides customers with the ability to:
- Track their deliveries in real-time
- View delivery history and receipts
- Update delivery instructions
- Access delivery confirmations and proof of delivery
This feature is not included in the standard license and requires additional setup.
What’s next
- To add the addresses orders go to, see Locations.
- To set up custom fields you’ll fill in here, see Settings.
- To start using a customer on orders, see Creating orders.