Vehicles
Vehicles is the list of trucks, vans, and trailers your team uses. Each vehicle has a type, capacity (weight, volume, pallet positions), and equipment (tail-lift, cooling, etc.) that the optimizer takes into account when planning.
How to open Vehicles
Click Vehicles in the left sidebar.
How to add a new vehicle
Permission: Admin only.
- Open Vehicles.
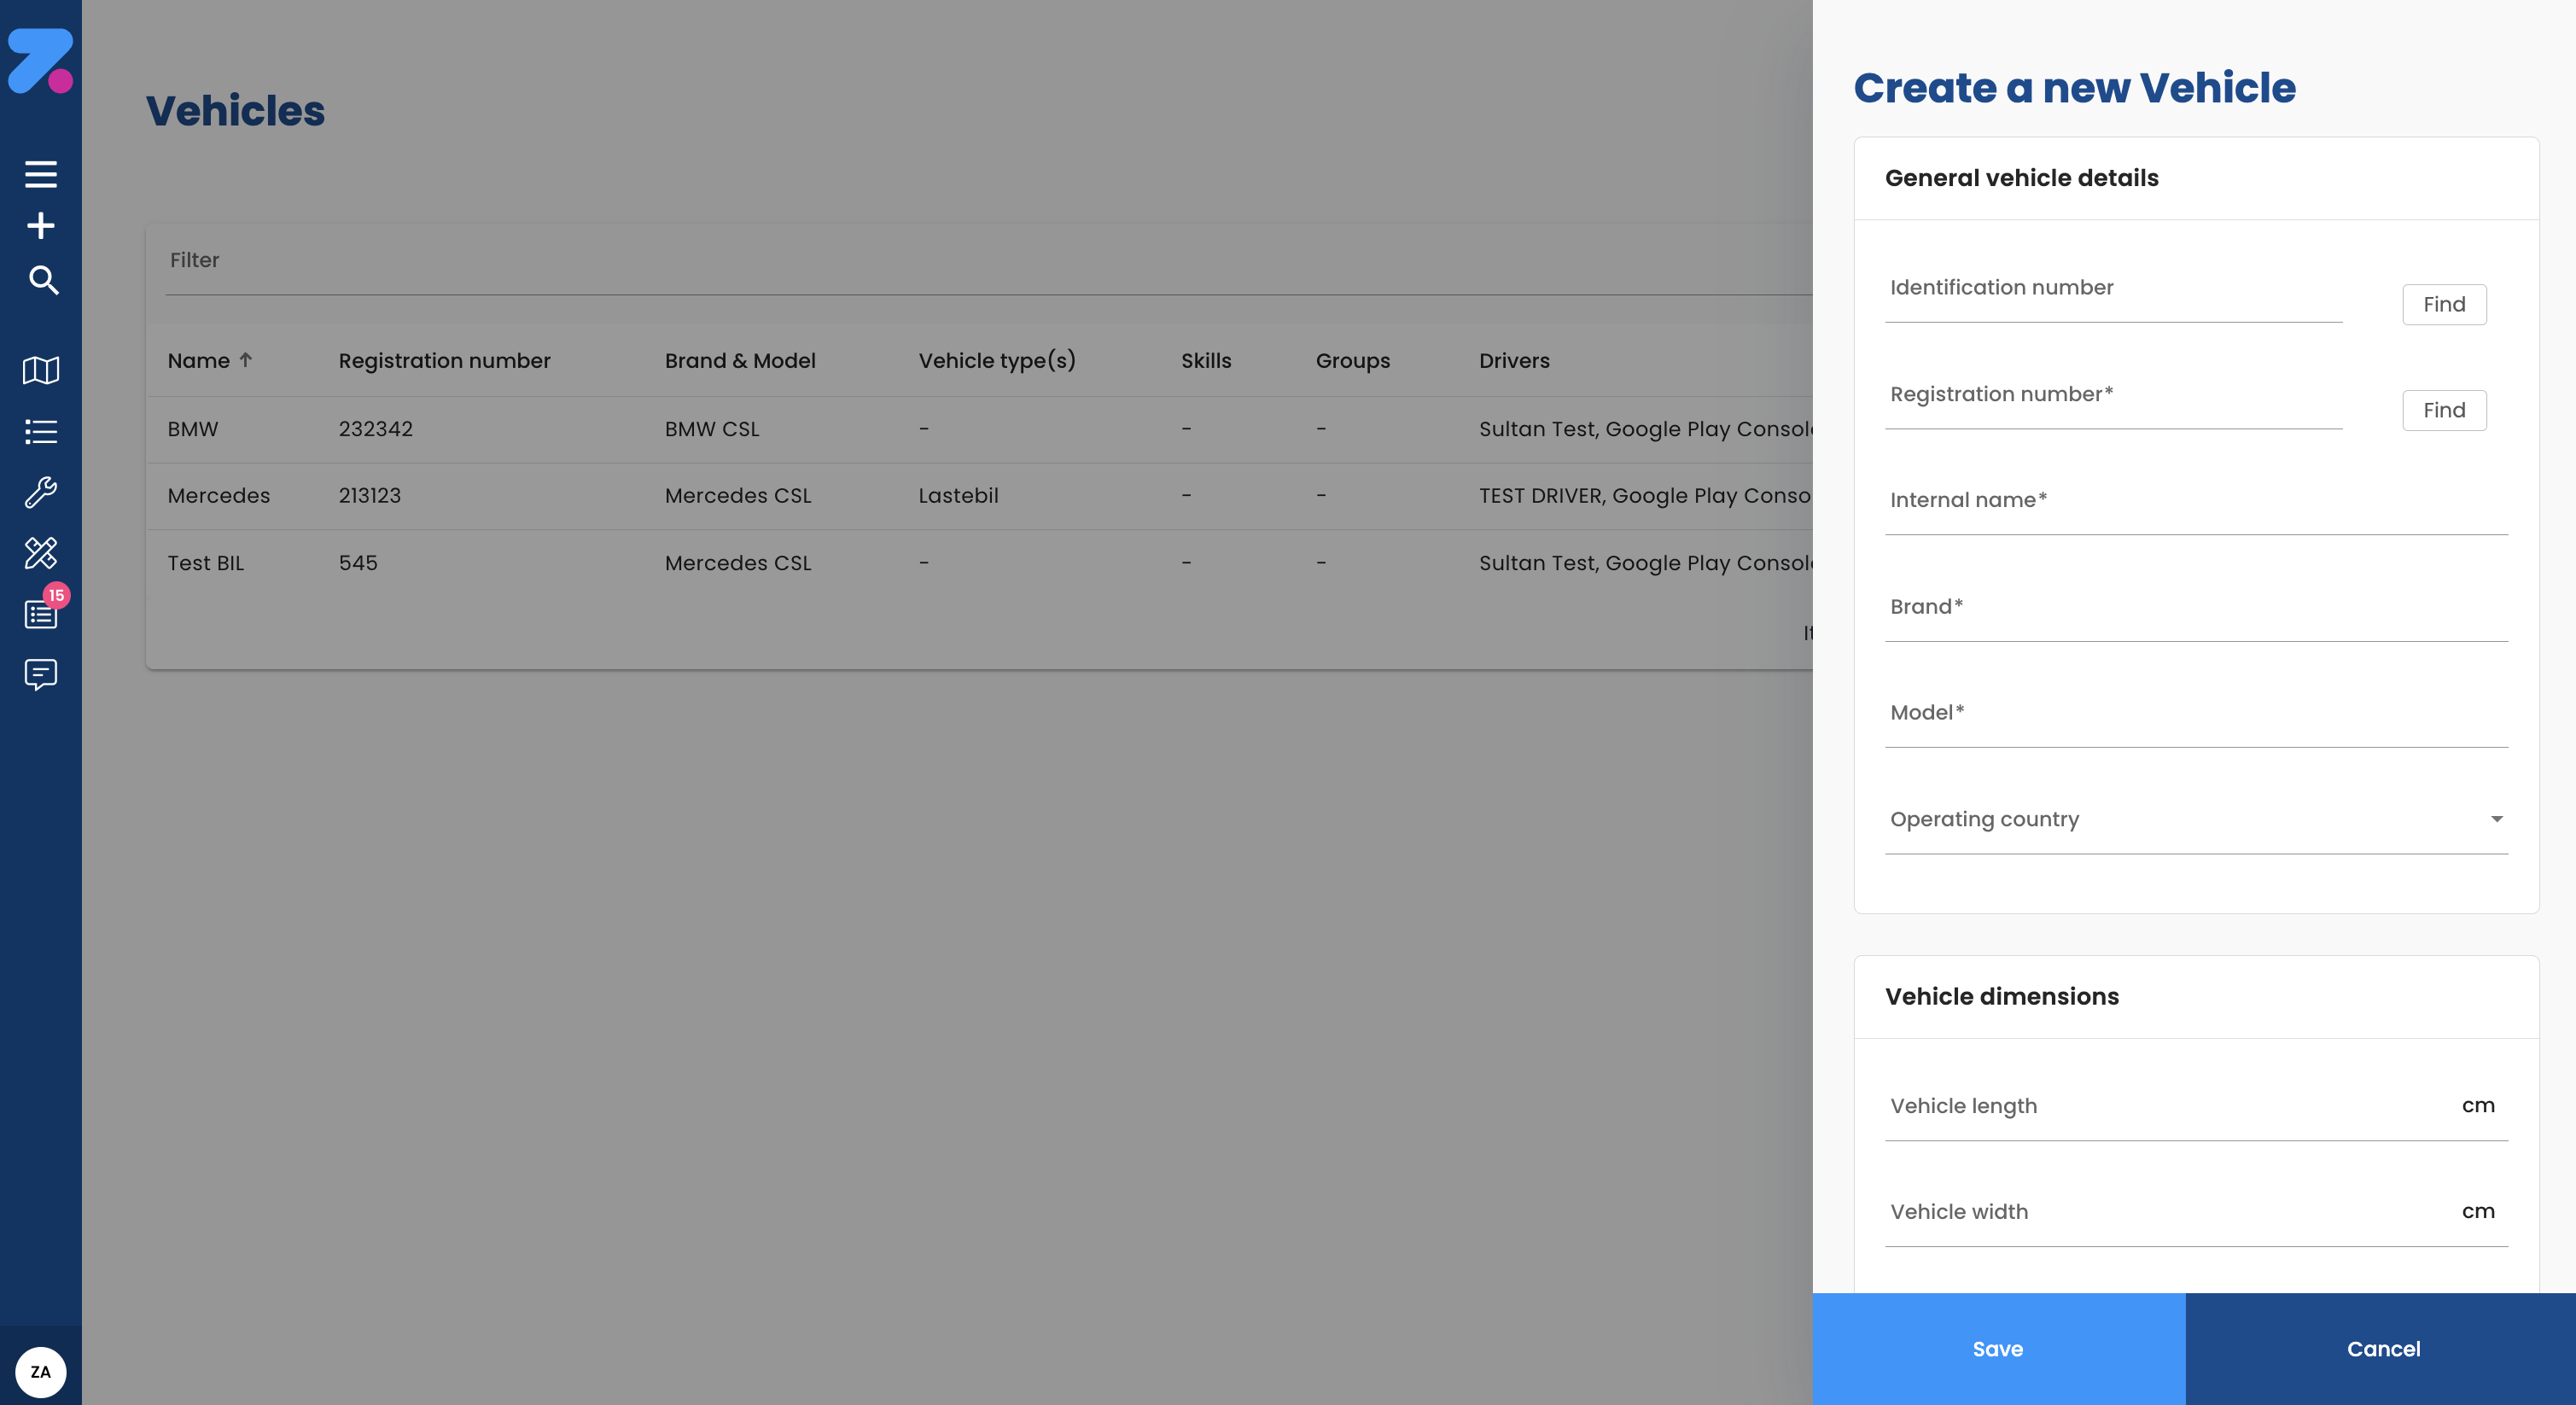
- Click Add vehicle (top right).
- Fill in:
- Name — your label (e.g. “Van 12”).
- Registration / licence plate.
- Vehicle type — from your org’s vehicle types (e.g. “Van”, “Truck > 3.5t”, “Refrigerated”).
- Capacity — weight (kg), volume (m³), pallet positions, ADR points (for hazardous goods).
- Equipment — tail-lift, cooling, crane, etc.
- Cost defaults (optional).
- Save.
How vehicle type affects planning
Each order specifies a required Vehicle type. The optimizer only assigns a stop to a vehicle whose type matches the order. So if an order needs a refrigerated truck, only refrigerated vehicles will be considered — even if a van has spare capacity.
You define the vehicle types your org uses in Settings.
How capacity affects planning
The optimizer keeps each route inside the vehicle’s:
- Weight limit (kg).
- Volume limit (m³).
- Pallet position limit.
- ADR points limit (hazardous goods).
When a vehicle is full, the optimizer routes additional orders to a different vehicle. The capacity bars at the bottom of Order Overview show how much of each is used per driver.
How to link a vehicle to a driver or workshift
You can do this from either side:
- From the driver — open the driver → Vehicles tab → assign vehicles. See Drivers.
- From the vehicle — open the vehicle → Assignments tab → pick the drivers who use it.
A workshift can specify which vehicle is used that day — useful if the same driver swaps vehicles morning vs. afternoon.
How to set vehicle costs
Vehicle costs feed into the optimizer’s “cheapest plan” calculation alongside driver costs.
- Open the vehicle → Costs tab.
- Set:
- Cost per kilometre.
- Fixed cost per use (per workday).
- Any other cost rules your org tracks.
- Save.
How to edit a vehicle
- Open the vehicle.
- Click the pencil icon in the header (or the relevant tab).
- Make your changes and save.
Norwegian Road Administration integration
For Norwegian vehicles, the system can automatically fetch vehicle data — just enter the VIN number or licence plate and most fields populate automatically:
- Vehicle specifications and dimensions
- Registration details and status
- Technical inspection information
- Environmental classification
This reduces manual data-entry errors, helps with compliance, and streamlines registration.
How to deactivate or delete a vehicle
Permission: Admin only.
- Open the vehicle.
- Click Deactivate (preferred) or Delete.
- Confirm.
Deactivating preserves history and lets you reactivate later. Deleting is permanent and may be blocked if the vehicle has active workshifts.