Locations
Locations are the physical addresses where pickups and deliveries happen — warehouses, shops, customer sites, etc. A location is reused across many orders, so getting the address, opening hours, and notes right pays off.
Locations are also organised into zones — geographic areas used for routing, pricing, and route-scheduling.
How to open Locations
Click Locations in the left sidebar.
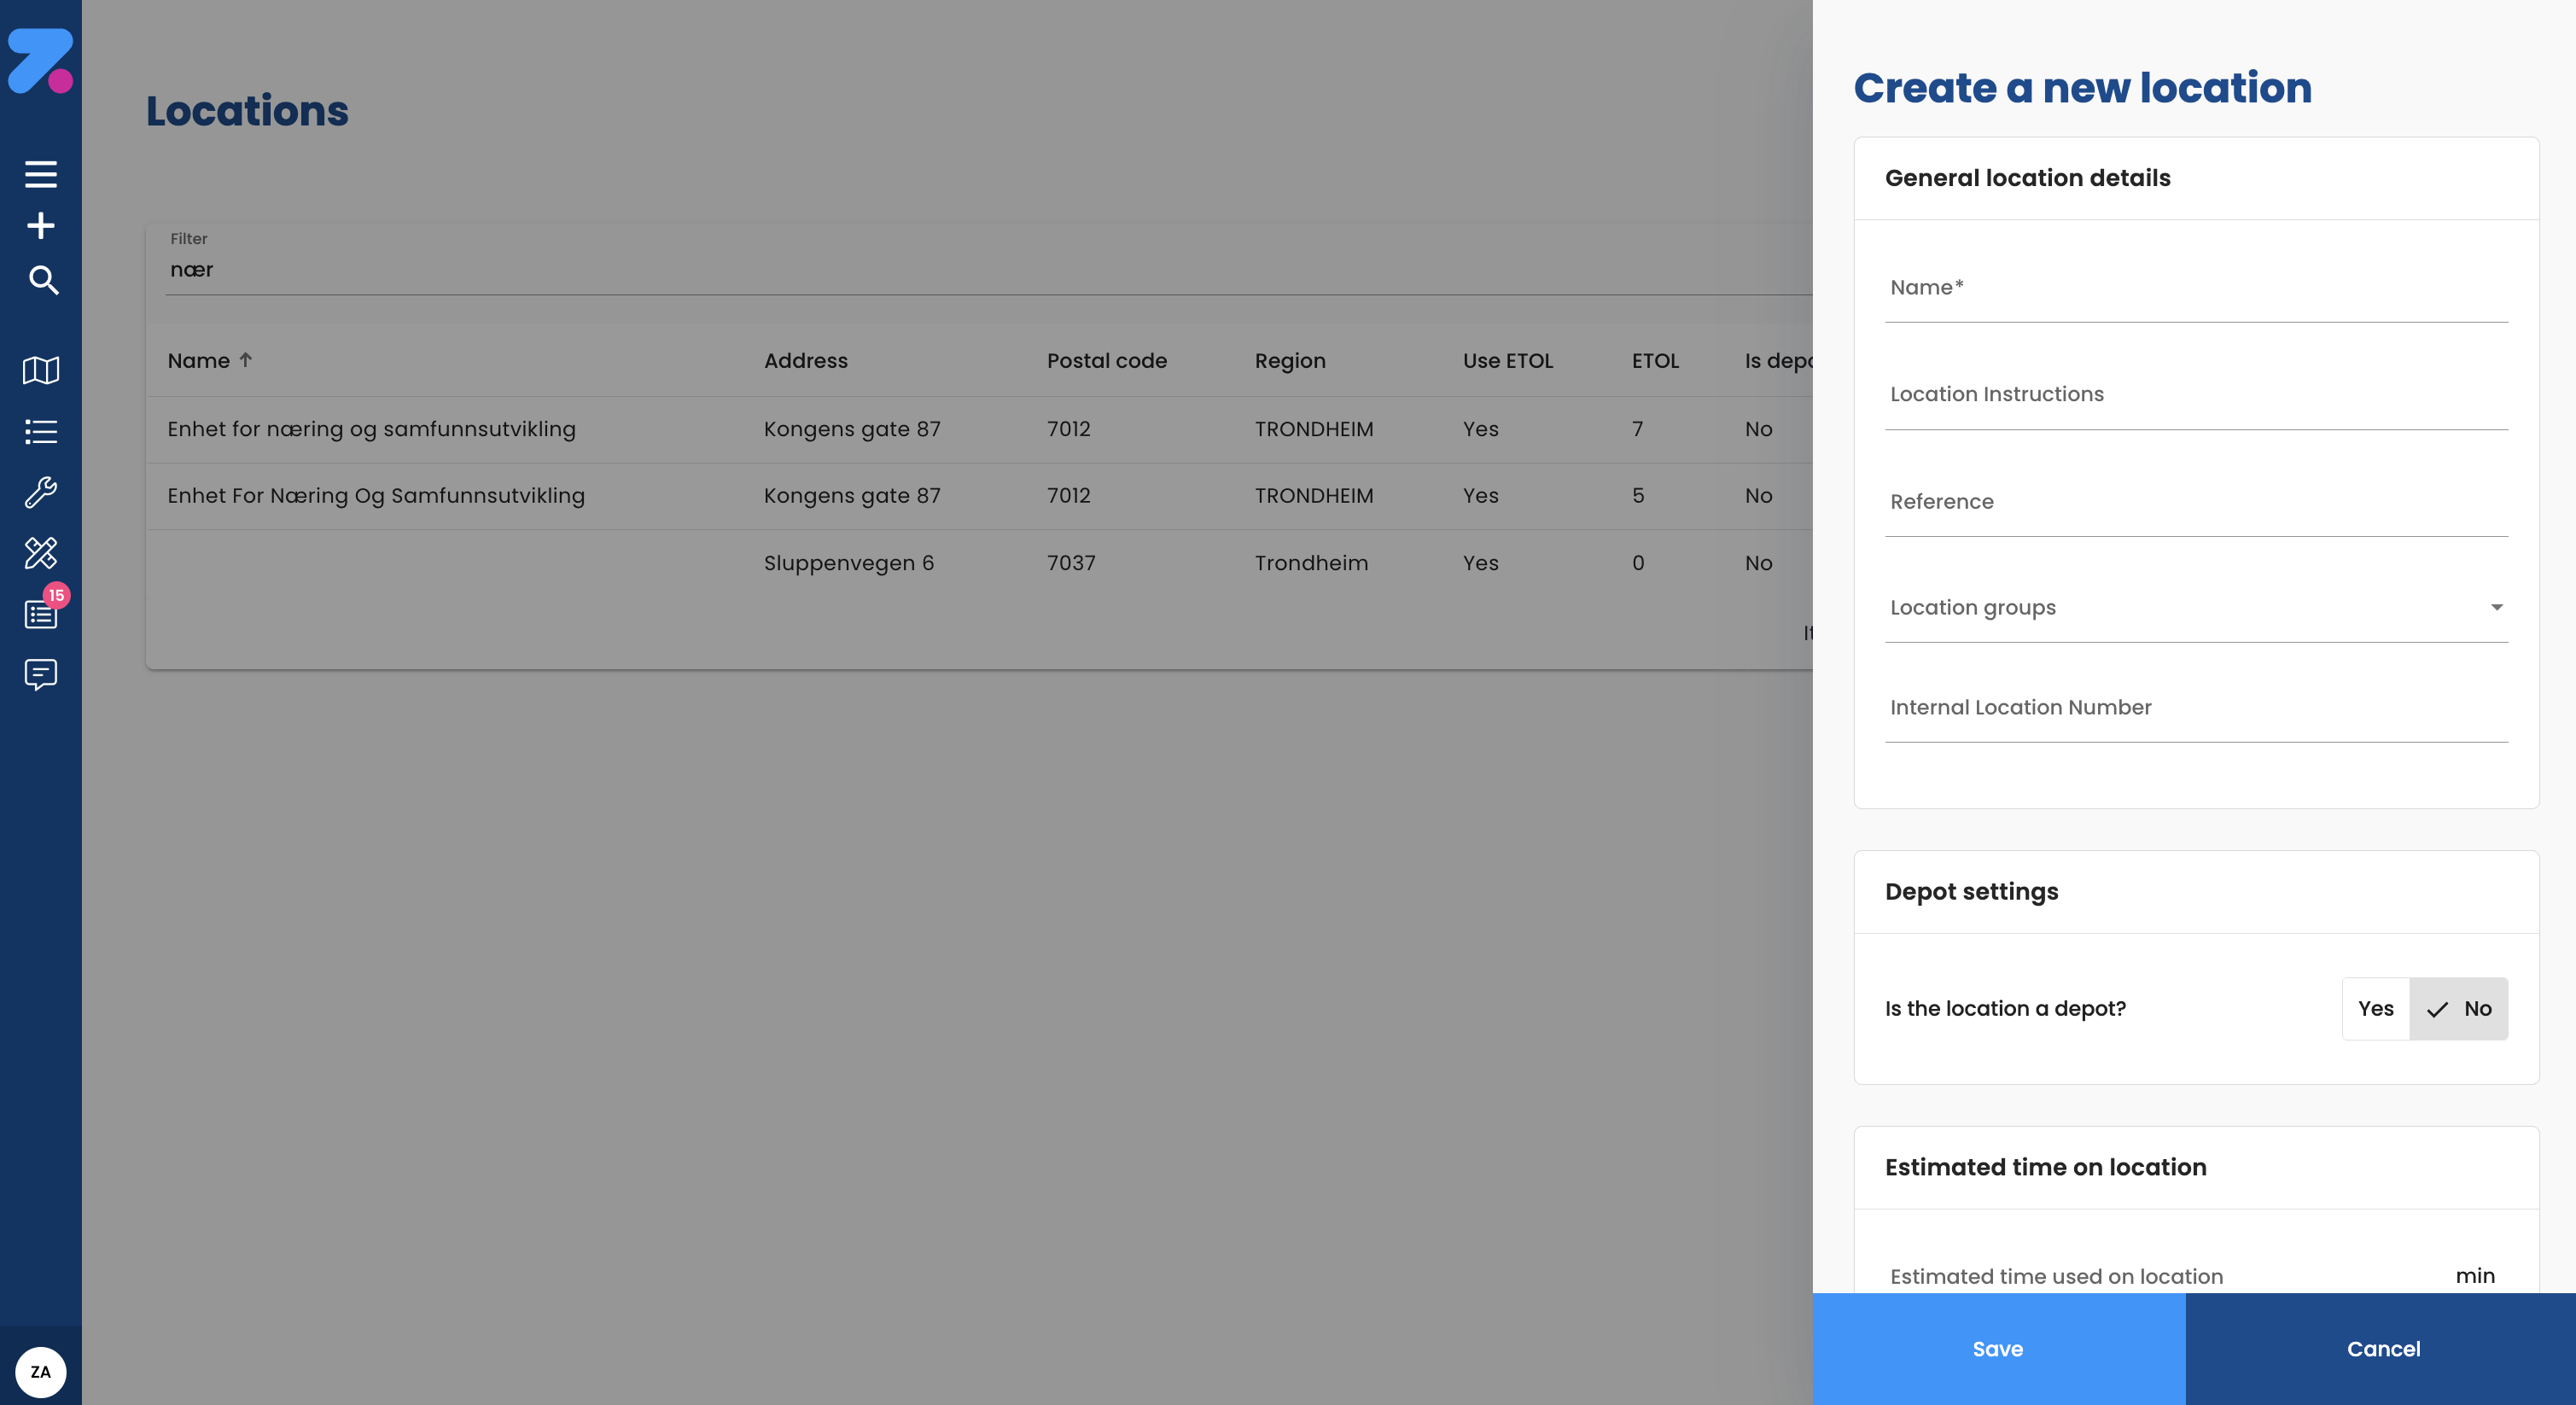
How to create a location
- Open Locations.
- Click New location.
- Fill in:
- Name — your label (e.g. “Acme warehouse Oslo”).
- Address — street, postcode, city, country.
- Zone — pick one (needed for route scheduling and pricing rules).
- Contact info (optional).
- Save.
Zendera looks up the address on the map and saves its coordinates automatically (a process called geocoding) so the optimizer can route to it.
If geocoding fails (invalid address), the location is still saved but planning and routing won’t work properly until the address is fixed. Always check the map preview after saving.
How to create a location while creating an order
When filling in an order’s pickup or delivery:
- Click the Location dropdown.
- Type the address. If it doesn’t match an existing location, the dropdown shows Create location.
- Click that, fill in the details in the side panel, save.
- The new location is selected on the order.
The location is saved permanently and reusable next time.
How to set opening hours and time windows
- Open the location.
- Open the Opening hours card.
- For each day of the week, set when the location is open.
- Save.
The optimizer uses these as soft constraints — orders to this location are scheduled inside the open hours. Order-level time windows still take precedence.
How to add site notes for drivers
Notes on a location (gate code, dock number, “park in front, call upon arrival”) show up in the driver’s mobile app at every stop at that location.
- Open the location → Notes card (or Custom fields if your org uses those).
- Add the note.
- Save.
How to organise locations into zones
Zones group locations geographically for planning, pricing, and route scheduling.
- Go to Zones (under Locations, or via Settings depending on your org’s setup).
- Click New zone, fill in name and (optionally) bounds.
- Assign locations to the zone — either:
- Open each location and set the zone field, or
- Use Import zones to upload an XLSX mapping postcodes → zones in bulk.
To export the existing zone setup (for backup or editing), click Export zones — you get an XLSX you can edit and re-import.
How to merge duplicate locations
Different team members often create slightly different records for the same place. Merge them so all history points to one record.
This is destructive — it cannot be undone.
- Find the duplicate to remove (the “from” location).
- Click ⋮ on the row → Merge.
- Search for the target location (the “to” — the one to keep).
- Review the impact preview — it shows how many orders will be reassigned and the last activity date.
- Confirm.
After confirming, the “from” location is deleted and all its history points to the “to” location.
How to add custom fields to a location
For info specific to your org (gate code, dock number, operating restrictions):
- An admin defines the field in Settings.
- Open the location → Custom fields card.
- Fill in the values.
- Save.
The values flow into orders that use this location and into the driver’s mobile app.
How to set a custom field on a stop (rather than a location)
Stop-level custom fields are values that change per delivery — even at the same location (e.g. “Today’s PIN code”):
- Open the order.
- Open the stop’s detail panel.
- Custom fields section — fill in the values.
- Save.
If a custom field is configured to require acknowledgment, the driver must tick it off in the mobile app for the stop to complete.
How to set location-specific pricing
If a single location has its own pricing (e.g. a difficult-to-reach island), you can override the customer’s default price list at the location level.
- Open the location → Pricing card.
- Pick a price list, set any overrides.
- Save.
See Settings → Pricing for the full pricing model.
How to delete a location
Permission: Admin only.
- Open the location.
- Click Delete in the header.
- Confirm.
If the location is referenced by historical orders, you’ll usually be steered to merge instead — that way history is preserved.
How to import locations in bulk
- Locations → Import.
- Download the template, fill it in.
- Upload. Review the preview, fix issues.
- Confirm.
Common gotchas
- Geocoding failure — locations with invalid addresses save fine but routing breaks silently. Always check the map preview when creating one.
- Zone removal orphans intervals — if a zone is used by route-scheduling intervals, deleting it may break those bookings. Reassign intervals first.
- Custom field deletion is cascading — deleting a field definition also deletes every value of it on every location and stop.
What’s next
- To use these locations on orders, see Creating orders and Order Control.
- To configure custom fields, see Settings.
- For pricing rules that reference zones, see Settings → Pricing.